Exporting References from Google Scholar
Managing references doesn't have to be a hassle. Google Scholar lets you export citations quickly and accurately, saving time and reducing errors. Here's how you can get started:
- Set up Google Scholar: Create a Google account and enable cookies in your browser for smooth functionality.
- Organize your library: Use the star icon to save references to "My Library" and group them with labels for easy management.
- Export citations: Select items in "My Library", choose "Export", and pick from formats like BibTeX, EndNote, RefMan, or CSV.
- Advanced tools: For bulk exports and additional features, consider tools like Sourcely, which offers precise filters and metadata preservation.
Follow these steps to simplify your citation management and focus more on your research.
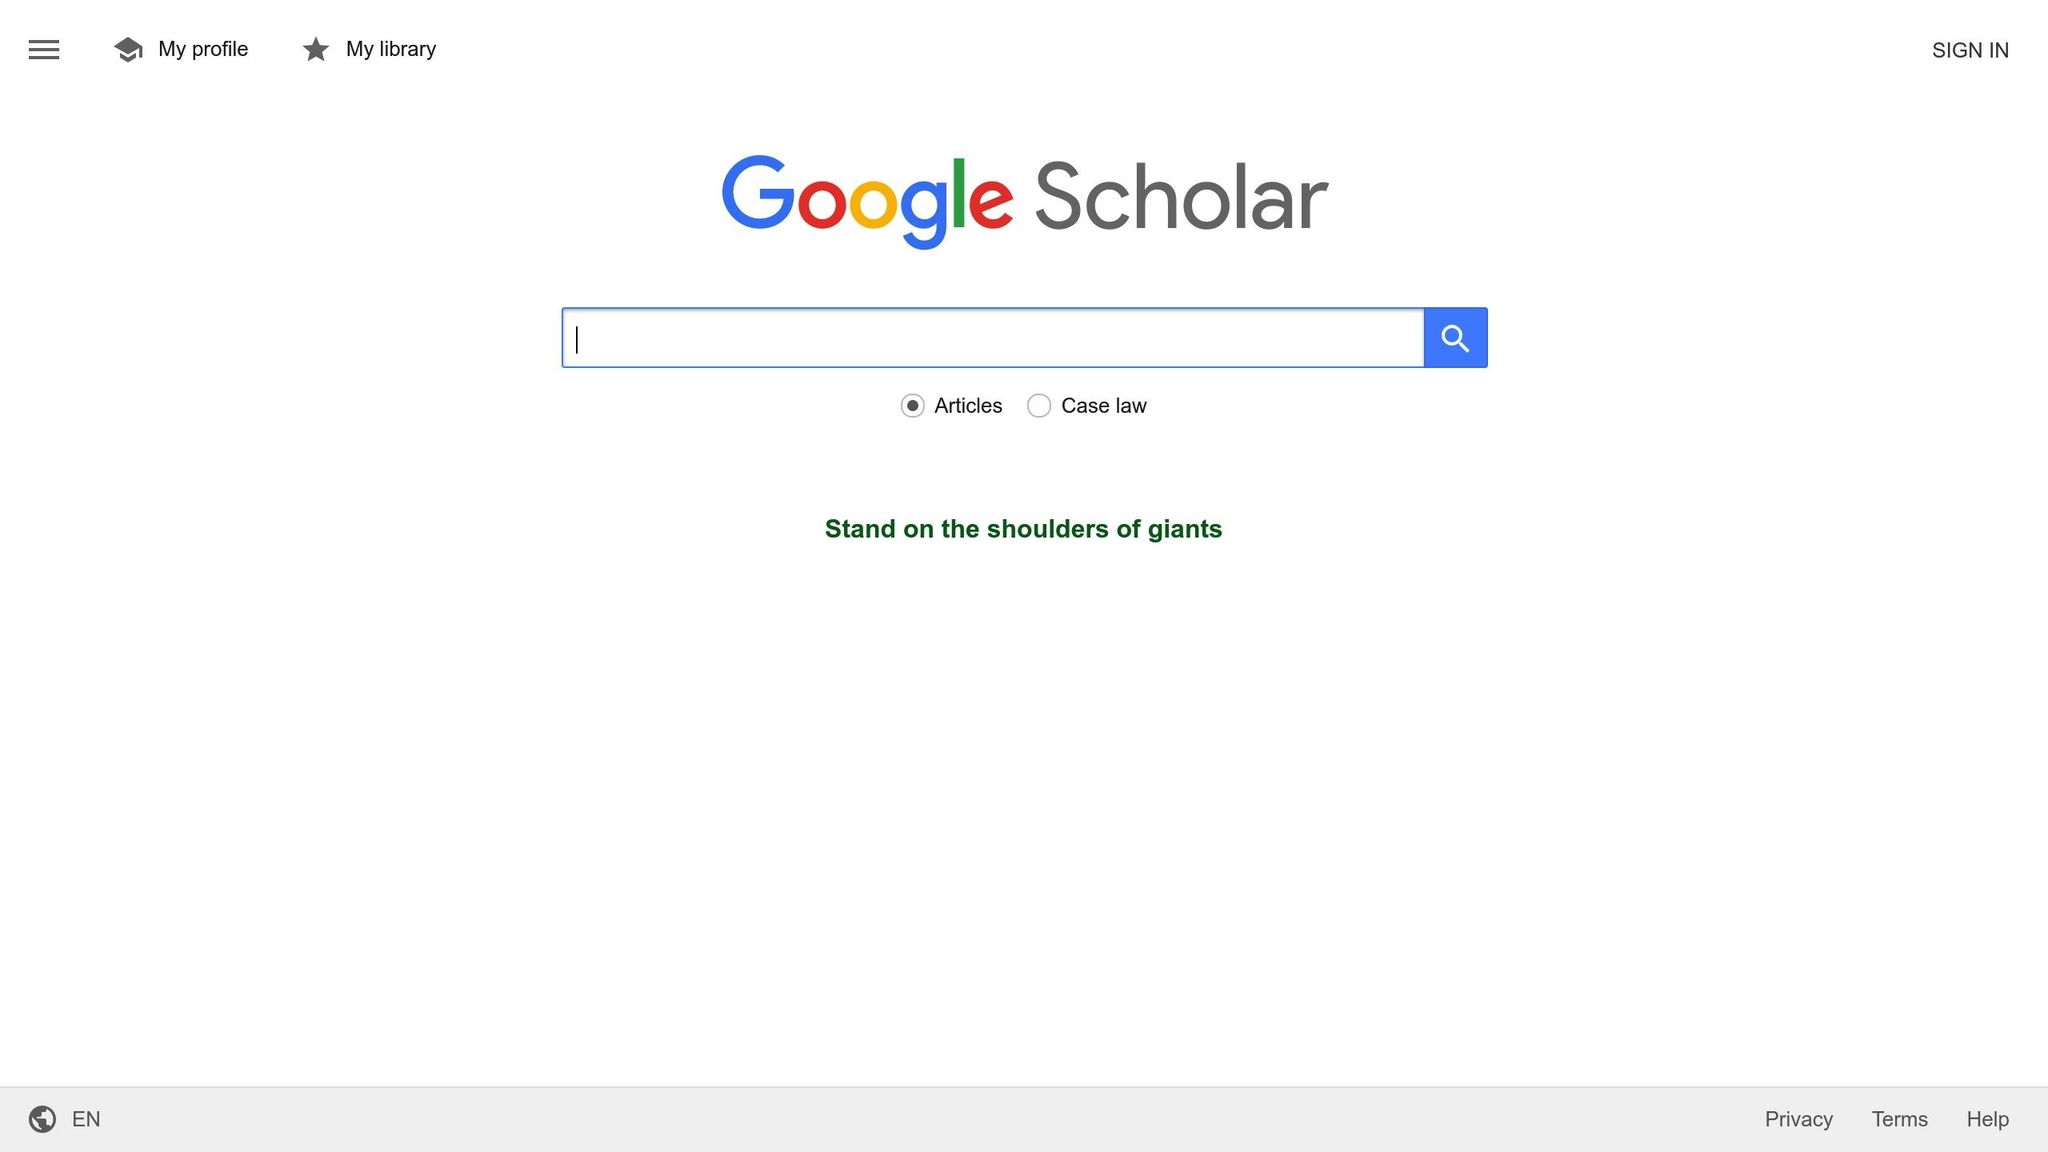
Google Scholar: Quick Searches, Saving, and Making Libraries
Google Scholar Setup Requirements
To export citations smoothly, you’ll need to set up Google Scholar properly. These steps will help you manage and export references efficiently.
Setting Up a Google Account
- Visit accounts.google.com and click on Create account.
- Enter your personal details and set a secure password.
- Verify your account through the email link Google sends you.
Configuring Your Browser
- Make sure cookies are enabled in your browser settings so Google Scholar can save your preferences.
- Add the Google Scholar bookmarklet or install a citation extension of your choice for quicker access.
Once your account and browser are ready, you can start building your library and exporting citations in bulk.
Bulk Export Steps
After setting up Google Scholar and your browser, you can save and export references in bulk. Here's how:
Adding Items to My Library
- Click the star icon below each entry in the search results to add it to My Library.
- Navigate to My Library in the top-left corner to see all your saved references.
- Use Labels in the left sidebar to organize items. You can create a new label or use an existing one to group references by topic or project.
Once your items are saved and organized with labels, you're ready to export them.
Exporting Library Items
To export your labeled references:
- In My Library, select items using the checkboxes or the Select all option.
- Open the three-dot menu and click Export.
- Pick a format: BibTeX, EndNote, RefMan, or CSV.
- The file will be downloaded to your browser.
Export Size Limits
If you have a large collection, export in smaller groups (e.g., by label or topic) to avoid timeouts or incomplete downloads. This ensures a smoother process.
sbb-itb-f7d34da
Reference Export Formats
Once your library is set, choose an export format that works best for your needs.
Google Scholar offers citations in BibTeX, EndNote, RefMan, and CSV. Sourcely supports these formats as well and even automates bulk exports while keeping metadata intact.
Here’s a quick guide to help you decide:
- BibTeX: Ideal for LaTeX documents and when you need detailed metadata.
- CSV: Perfect for importing into spreadsheets or creating simple lists.
Advanced Export Methods
You can simplify citation exports from Google Scholar by using browser extensions or Sourcely for automation.
Browser Extension Options
Add a citation-focused browser extension to your toolkit. These extensions let you save search results, organize your references, and export them in formats like BibTeX, EndNote, or CSV - all without leaving Google Scholar.
Using Sourcely for Exports
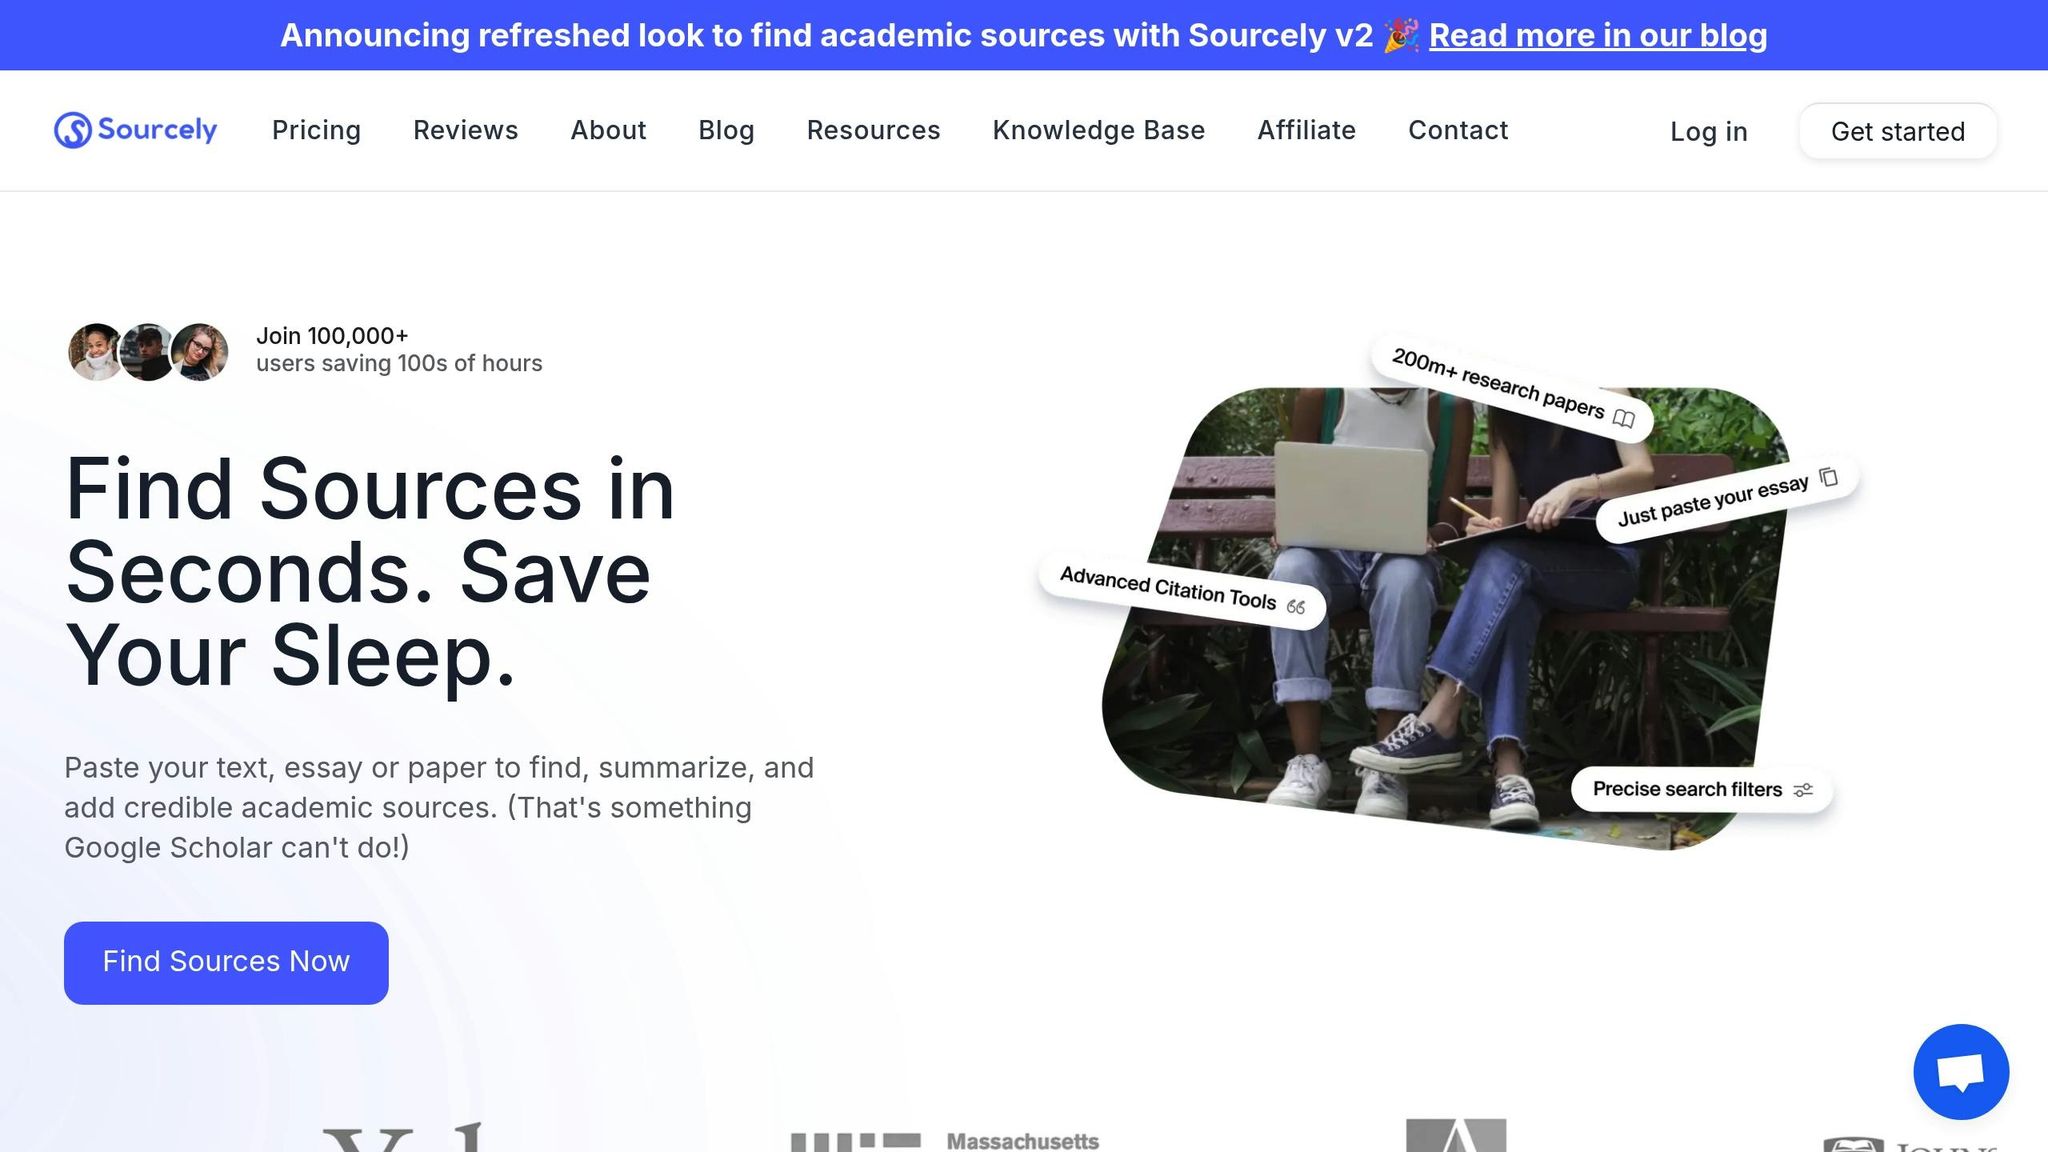
Sourcely offers another option, allowing you to apply filters like year, author, or keywords to refine your search. It enables bulk citation exports and even includes free PDFs in formats such as BibTeX, RIS, or CSV. For $17/month, Sourcely's Pro plan provides unlimited bulk exports and priority access to advanced tools.
Sourcely, https://sourcely.net
Export Tips and Solutions
Common Export Issues and Fixes
Once you've completed your export, take a moment to address these typical problems to ensure your citations are accurate and complete:
Missing Citation Data
Check your saved entries for any missing fields. Edit and fill in the gaps before exporting to avoid incomplete citations.
Format Compatibility Issues
Double-check the export format against your reference management software. For example:
- Make sure the format (e.g., BibTeX, RIS) is supported by your software.
- Stick with widely accepted formats like BibTeX for better compatibility.
Export Best Practices
Organization Strategy
Maintain a clear structure by using the labeling system mentioned in the Bulk Export Steps. To stay organized:
- Use consistent naming conventions for your files.
- Add relevant tags or keywords to entries for easier filtering.
Quality Control Process
Review each citation carefully. Pay attention to authors, publication dates, title formatting, and duplicate entries to ensure everything is correct.
Efficient Workflow
Save time managing references by:
- Using filters like year, author, or keywords to narrow down results in tools like Google Scholar or Sourcely.
- Regularly organizing your reference library to minimize future cleanup efforts.
Implement these tips right after setting up your reference library to keep everything running smoothly.
Sourcely: An AI-powered academic search assistant designed to help users find relevant sources, apply precise filters, and export citations in various formats.
Conclusion
Exporting citations from Google Scholar efficiently can save you time and help avoid mistakes in your references. By using features like bulk-add, labels, and format options, you can create a well-organized library. This guide walks you through everything - from setting up Google Scholar to managing bulk exports and picking the right formats - to streamline your reference management. Stick to these steps to keep your library accurate and organized, letting you concentrate more on your research rather than dealing with citation hassles.
